|
|
|
How to convert your 1/64 Diecast
into a RUNNING SLOTCAR in one afternoon!!

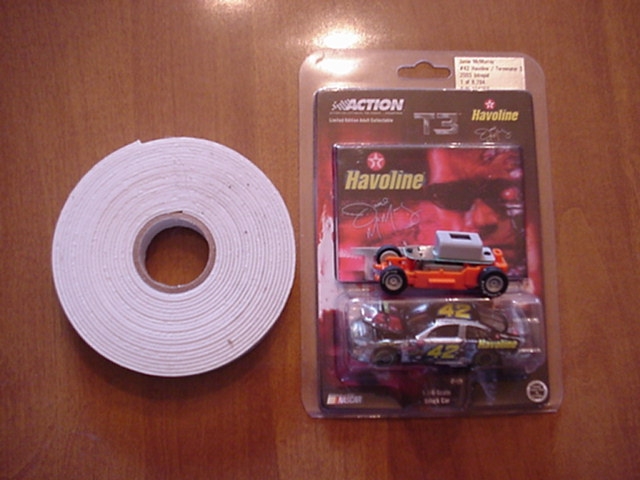
Here is the tools/supplies you need for this project,
It really is easy, You CAN DO IT!
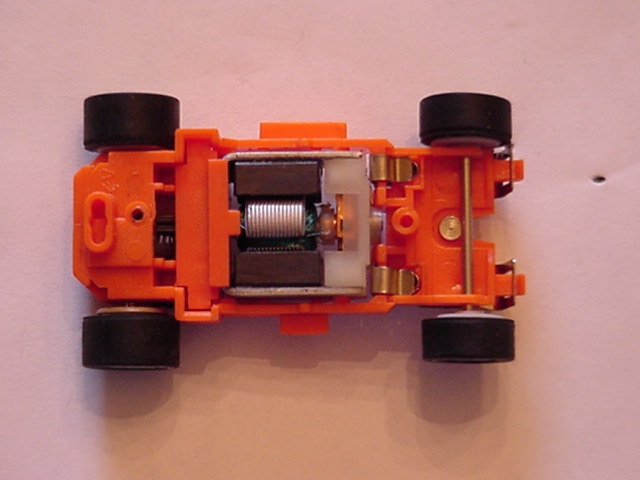
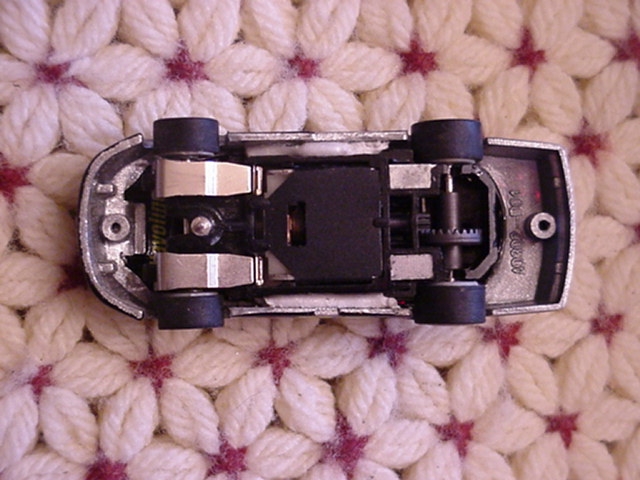
Here is a shot of the chassis. The "box" on top
First, Lets get the body ready for the chassis.
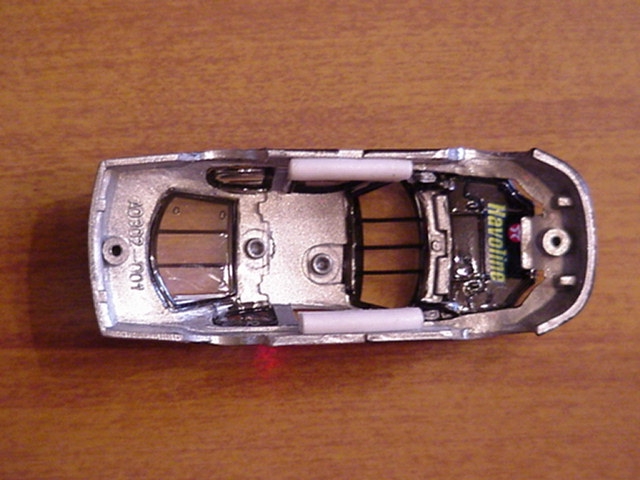
Here is a shot of the "gutted" diecast. Save the screws
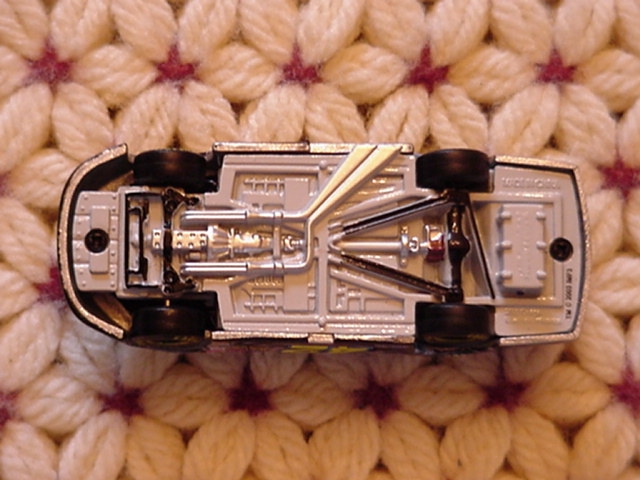
Here is a shot of the now empty shell. Now would be a good
On to the chassis prep! See the 2 screws, remove them
After removing the screws, GENTLY pull the
Time to "dry fit" the body. Some body's will fit just perfect, some will need
Here is something else that comes with this chassis that wont be needed.
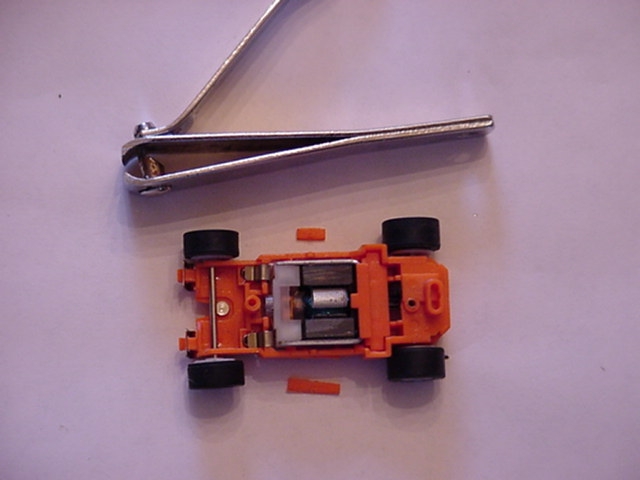
Now it's "chassis prep" time!!
Take the nail clippers/side cutters and cut the tabs shown off the chassis
Turn the body over, like the photo. In the spaces between the chassis
Here is how you need to cut the 2 sided foam tape.
We're gettin' Closer! Now, take the backing off the folded tape
Almost there! Now, place the chassis int the body, one side at a time
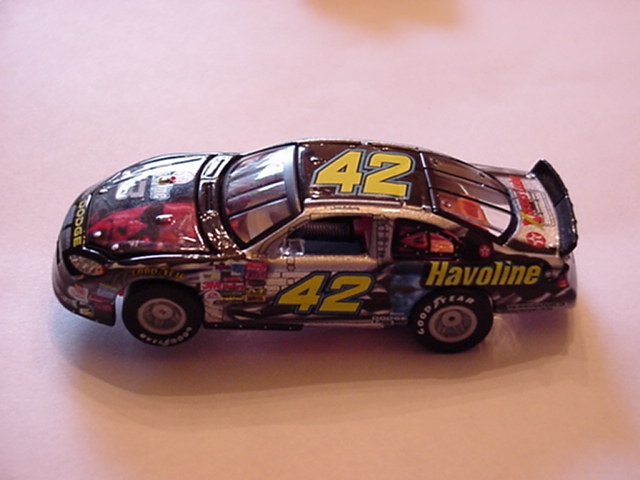
It's SHOWTIME! You now have sucessfully "transformed" your
Larry
1. Your favorite diecast race car.
2. A Marchon chassis, available from SlotCarWorld.com
3. Double sided foam tape, available at Wal Mart
4. Small "Jeweler's" screwdrivers, phillips & straight blades
5. A dremel with a small sanding drum
6. Either lg. nail clippers or sharp side cutters.
7. A "Exacto" knife with a sharp blade.
8. Possibly, a drill & bit, if the body is "rivited" on
9. The Modelers/Racers friend, Super Glue!!
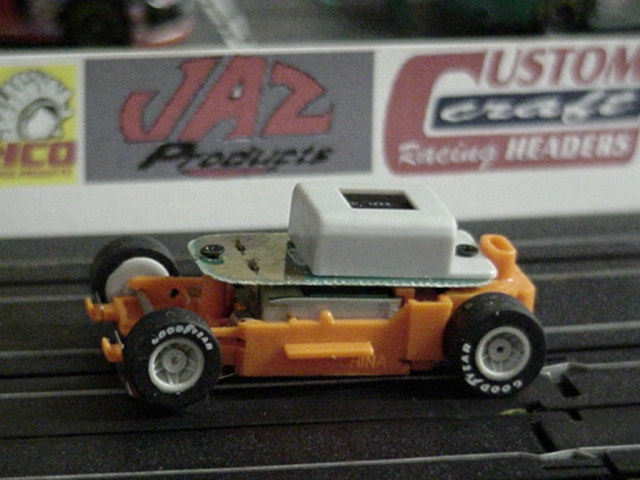
will be removed in a later step.
Some diecast, like the one above, has screws attaching
the body to the chassis. Remove the screws. If the
body is "rivited" on, you will need a drill to "pop"
the rivets. Make sure when you do this step to be careful
not to scratch the outer body.
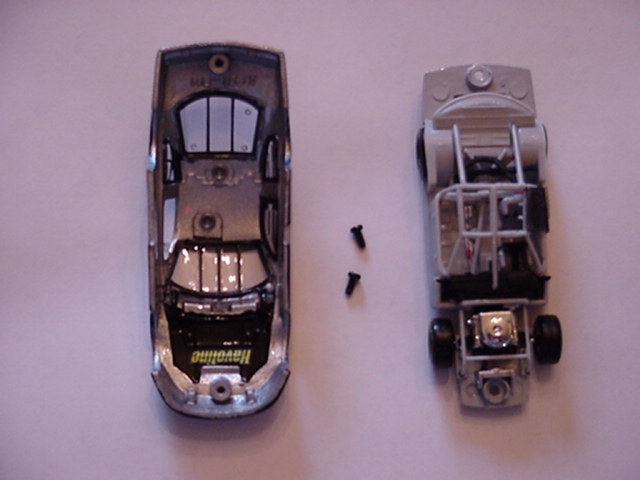
as they might come in handy for another project down the road.
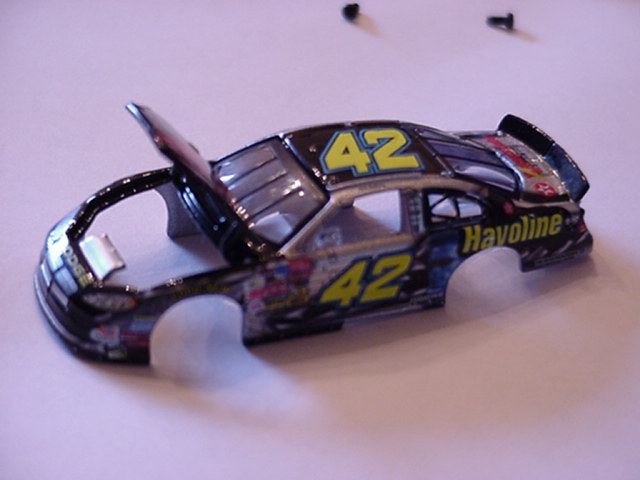
time to super glue the hood down. Be careful not to get
any on the outer finish!
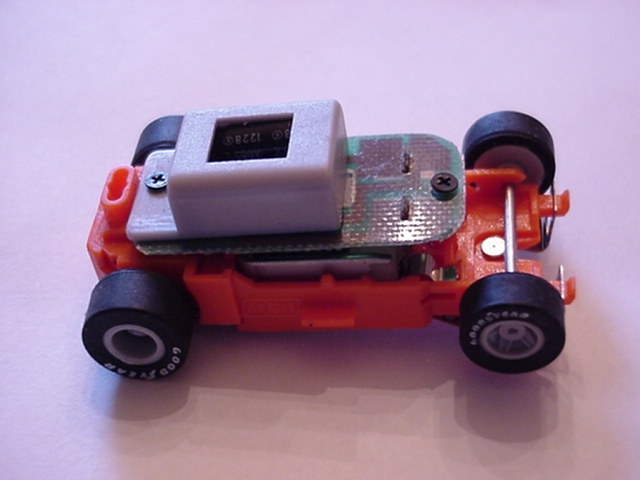
keeping them far away from the motor.
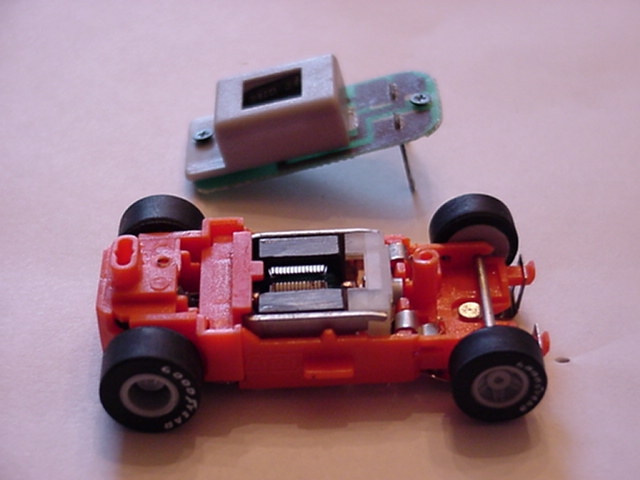
"box" off the chassis, and put in the drawer that you keep
all the stuff "left over" from other projects. :)
slight sanding of the wheel openings with the above mentioned dremel.
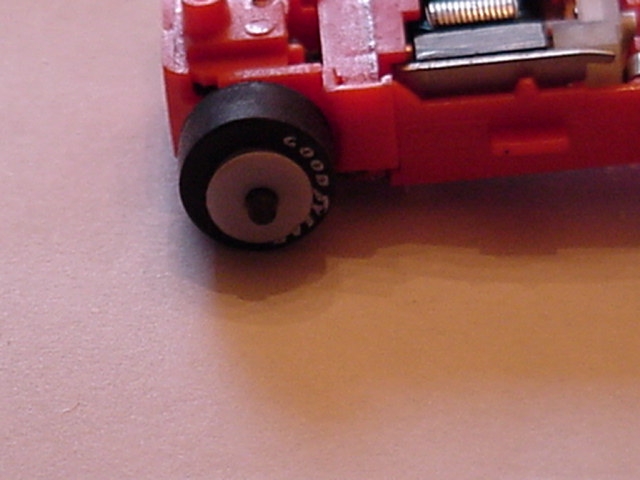
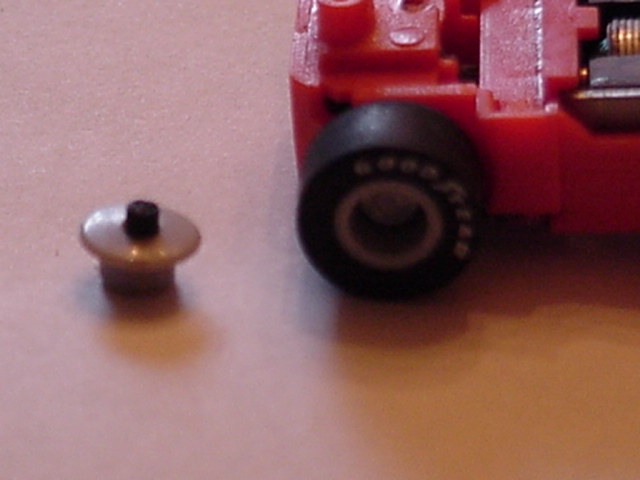
Take your straight blade jewelers screw driver and gently pry it
off of the wheel. Put this in the same drawer as you put the "box" in.
and grind the sides of the chassis smooth.

and the body is where the 2 sided foam tape goes.
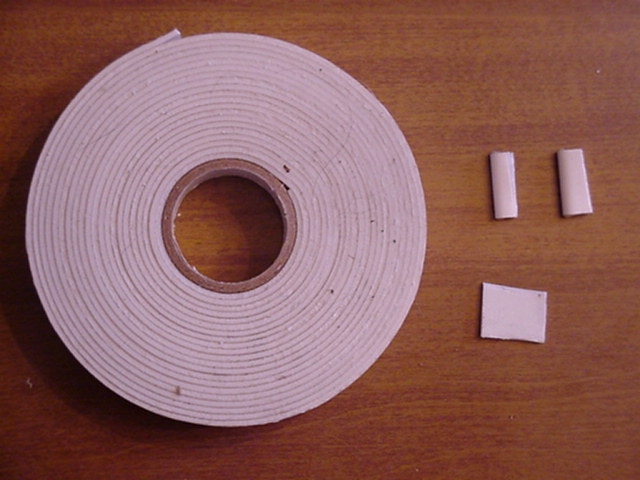
First, cut a strip about 1/2 inch long. Then fold them in half,
by its width, like in the photo above.
and apply to the inner body keeping it just above the rocker panels.
then slide the other side in. You can adjust the "ride height" by
using your trusty "Exact-o" knife between the tape and body. After
getting the body where you wan it, make sure the wheels turn free
and dont rub, Let it set for a few minutes, then check it again
and make adjustments again, if needed.
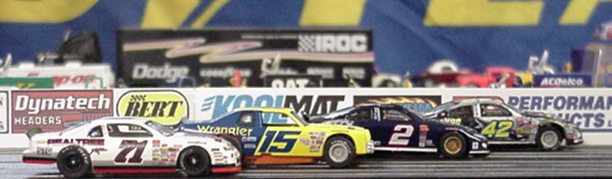
one time "shelf queen" into a running slotcar! Soon, you can have a
whole field of these racers! And think of the possibilitys!!!!
See, it was easy, wasn't it! Have Fun!!